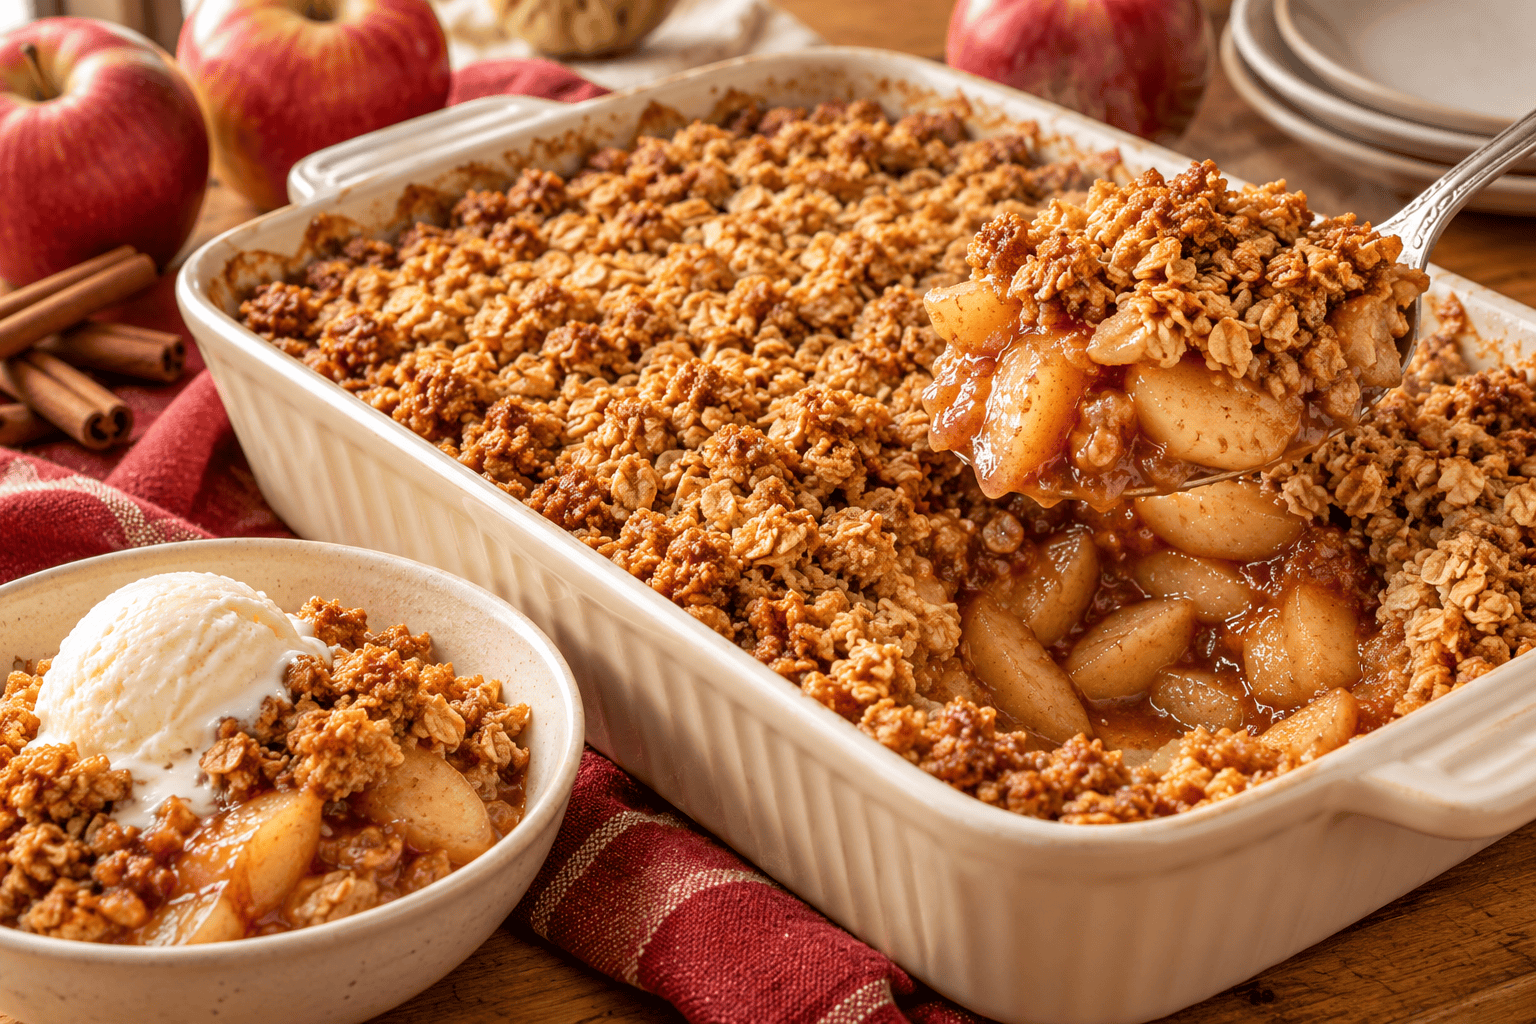
A perfect topping can hide a watery problem
Apple crisp can look finished long before the filling is ready. The oat topping is deeply golden, the kitchen smells like cinnamon, and the edges of the pan are bubbling. Then the first serving is lifted and a thin puddle rushes into the empty space.
The frustrating part is that this usually is not a topping problem. It begins in the bowl before the apples ever reach the baking dish. Apples naturally release water when they are mixed with sugar. If that liquid is not given a chance to appear—and then coated evenly with enough thickener—it can collect beneath the fruit faster than the oven can turn it into a glossy sauce.
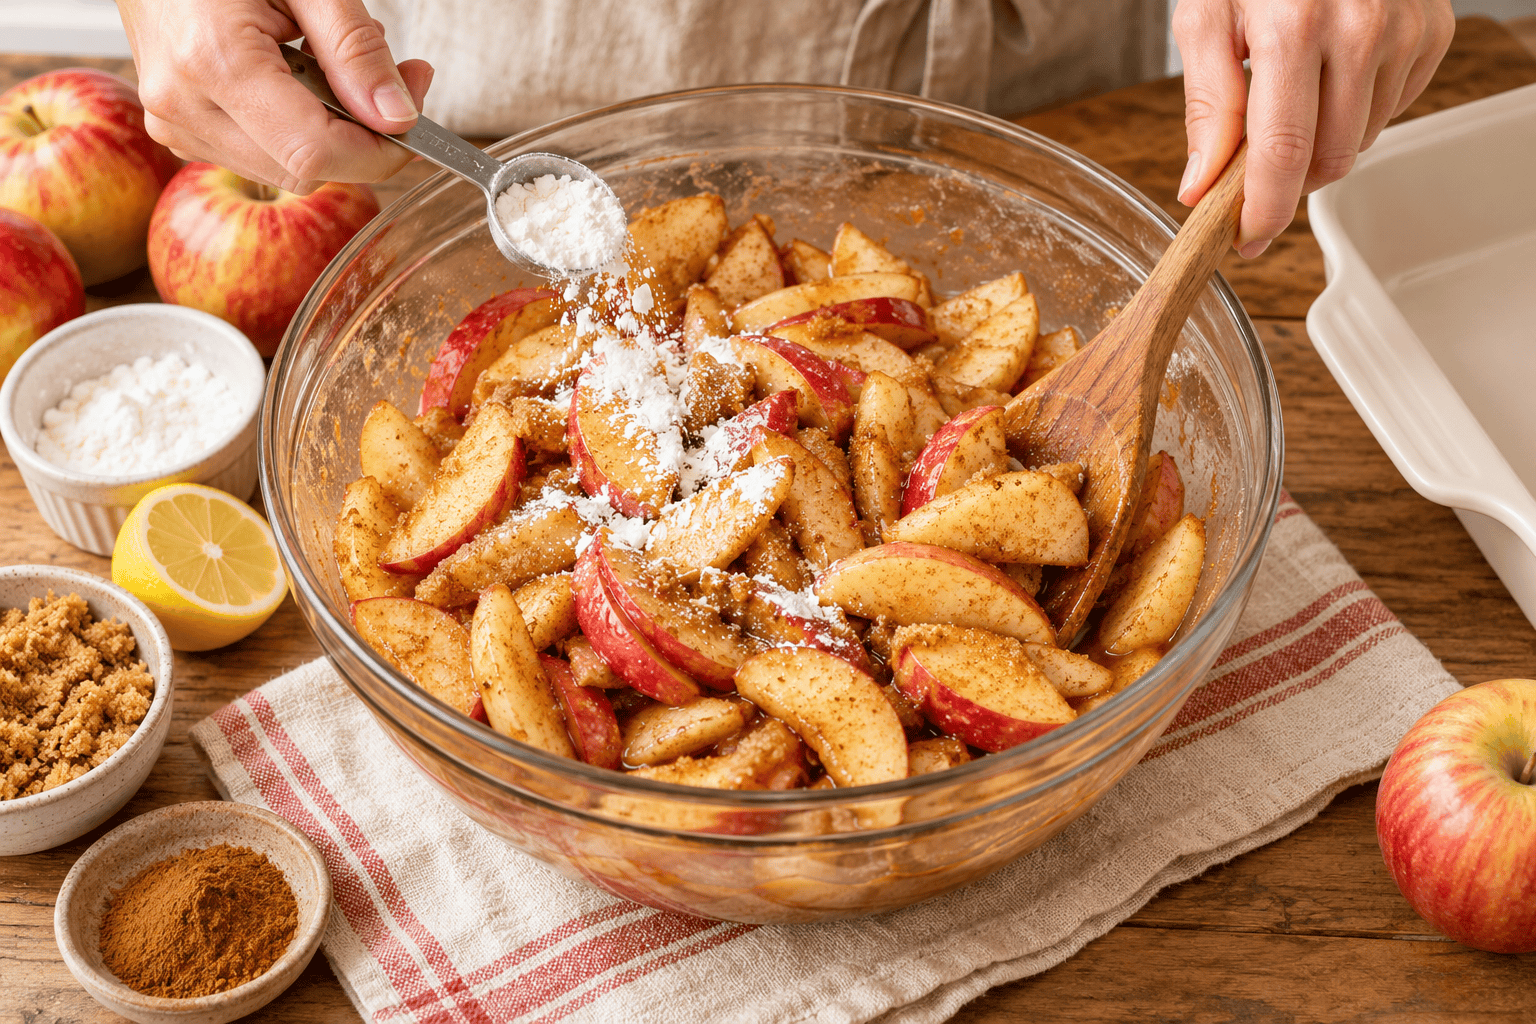
The fix is simple: season the apples first, let them rest for 10 minutes, and add the cornstarch only after the sugar has drawn out some juice. Toss until the cornstarch disappears into the moist fruit and accumulated liquid. Then transfer everything to the pan. That short pause gives the thickener something to disperse through instead of leaving dry pockets on a few slices and unthickened juice around the rest.
| THE TEN-MINUTE FIX
Toss the sliced apples with sugar, lemon and spices. Wait 10 minutes. Then add the cornstarch and mix until no white streaks remain. Keep the released juice—it becomes the sauce. |
Recipe at a glance
| Prep | Bake | Rest | Serves |
| 25 minutes | 45-55 minutes | 30-45 minutes | 8 portions |
Ingredients
For the apple filling
8 cups peeled, cored and 1/4-inch-sliced baking apples, about 2 1/2 to 3 pounds
1/3 cup packed light brown sugar
2 tablespoons granulated sugar
2 tablespoons fresh lemon juice
1 teaspoon vanilla extract
1 1/2 teaspoons ground cinnamon
1/4 teaspoon ground nutmeg
1/4 teaspoon fine salt
3 tablespoons cornstarch
For the crisp topping
1 cup old-fashioned rolled oats
3/4 cup all-purpose flour
3/4 cup packed light brown sugar
1/2 teaspoon ground cinnamon
1/2 teaspoon fine salt
1/2 cup cold unsalted butter, cut into small cubes
Optional: 1/2 cup chopped pecans or walnuts
How to make apple crisp that sets properly
1. Prepare the oven and pan. Heat the oven to 375°F. Lightly butter a 9-inch square or similar 2 1/2-quart baking dish.
2. Season the apples. In a large bowl, toss the sliced apples with the brown sugar, granulated sugar, lemon juice, vanilla, cinnamon, nutmeg and salt. Mix until every slice is coated.
3. Wait 10 minutes. Leave the apples at room temperature. The sugar will begin drawing natural juice from the fruit. Toss once halfway through so the slices season evenly.
4. Add the thickener. Sprinkle the cornstarch over the moist apples rather than dropping it in one pile. Toss thoroughly, scraping the bottom of the bowl, until no white streaks or dry clumps remain. Let the mixture stand for 2 minutes, then toss once more.
5. Transfer every drop. Pour the apples and all accumulated juice into the prepared baking dish. Spread the slices into an even layer. Do not discard the liquid; properly coated, it becomes the thick cinnamon sauce.
6. Make the topping. Combine the oats, flour, brown sugar, cinnamon and salt. Cut in the cold butter with a pastry cutter or your fingertips until the mixture forms a combination of small crumbs and larger clusters. Fold in nuts if using.
7. Scatter—do not pack. Sprinkle the topping loosely and evenly over the apples. Do not press it down. Open spaces help steam escape while the exposed clusters become crisp.
8. Bake until the center bubbles. Bake for 45 to 55 minutes. The topping should be deep golden and thick bubbles should rise near the center, not only around the edges. If the topping browns too quickly, tent the dish loosely with foil for the final 10 to 15 minutes.
9. Rest before serving. Cool for at least 30 minutes, preferably 45. The filling continues thickening as it cools. Serving immediately makes even a correctly prepared crisp look thinner than it really is.
Why apple crisp becomes watery
Different apples contain different amounts of water and soften at different rates. A pan filled only with very juicy or very soft apples can release more liquid than the recipe’s thickener was designed to handle. The most dependable choice is a blend: use a firm tart apple such as Granny Smith for structure and a sweeter firm apple such as Honeycrisp, Pink Lady or Braeburn for flavor.
Slice thickness matters too. Very thick pieces may still be firm when the topping is brown, while paper-thin slices collapse and release their liquid early. Consistent 1/4-inch slices cook at the same pace and create a filling with visible pieces instead of applesauce surrounded by juice.
Finally, thickener needs enough heat and time. A few bubbles at the outer edge do not prove the center is ready. The filling should visibly bubble toward the middle of the dish. That is the point at which the released apple juice and cornstarch have had enough heat to become a sauce.
Five mistakes to avoid
Adding everything at once: Cornstarch can cling to dry apple surfaces unevenly. Give the sugar time to draw out juice first, then toss in the thickener.
Using only soft, extra-juicy apples: Blend firm varieties so the fruit holds shape and the liquid level stays manageable.
Cutting uneven slices: Uniform 1/4-inch pieces finish cooking at roughly the same time.
Removing the crisp when only the edges bubble: Wait for slow, thick bubbles closer to the center of the dish.
Serving it straight from the oven: A hot filling is naturally looser. Give it at least 30 minutes to settle.
Can flour replace cornstarch
Yes. Replace the 3 tablespoons of cornstarch with 1/4 cup of all-purpose flour. The finished sauce will be slightly more opaque and less glossy, but it will still thicken. The same timing applies: let the seasoned apples release juice first, then toss with flour until no dry pockets remain.
Tapioca starch can also work, but brands absorb differently and can create a springier texture if overused. For the most predictable home-baking result, cornstarch or all-purpose flour is easier to measure and evaluate.
Make-ahead and leftovers
The topping can be mixed and refrigerated for up to two days. The apples should be sliced and seasoned close to baking time; a long rest continues pulling out moisture and can soften the fruit. If you need a head start, measure the dry filling ingredients and prepare the topping in advance, then slice the apples when you are ready to bake.
Cover and refrigerate leftover crisp after it cools. Reheat individual portions uncovered so the topping has a chance to dry and crisp again. A microwave is fast but softens the topping; a moderate oven gives a better texture.
| THE RELIABLE RULE
Juice is not the enemy. Unmanaged juice is. Let it appear, coat it evenly with thickener, bake until the center bubbles, and allow the filling to rest before serving. |
The bottom line
A watery apple crisp is usually decided before the pan reaches the oven. The topping may receive all the attention, but the filling needs its own short process: season, wait, thicken and toss again.
That extra 10 minutes turns loose apple juice into a warm cinnamon sauce that clings to every slice. Add a deeply golden oat topping, wait long enough before serving, and the first spoonful will hold together just as beautifully as it looked in the baking dish.