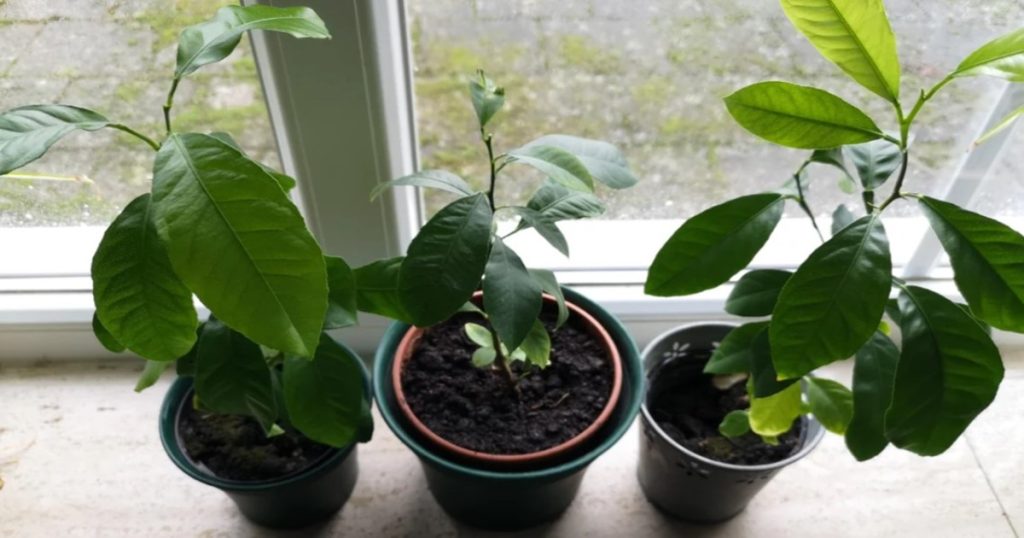
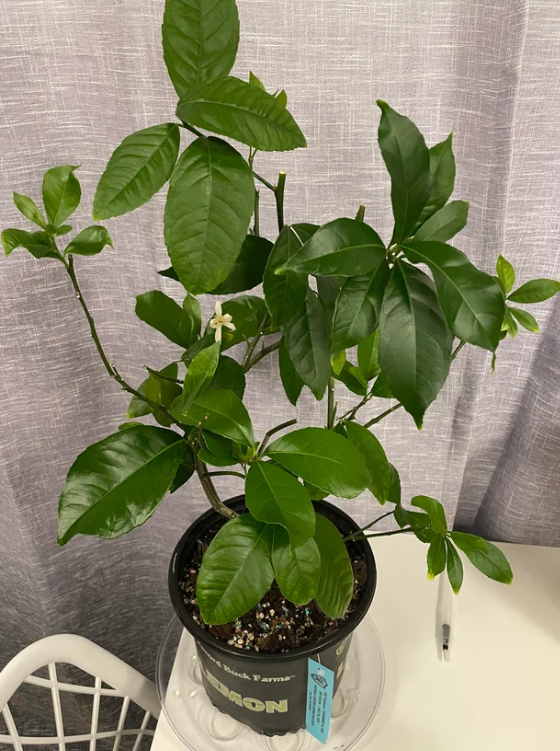
Growing a lemon plant in a cup is a delightful and straightforward project that brings a touch of greenery and a fresh scent into your home. This method is especially suitable for those with limited space or who wish to engage in a small-scale gardening endeavor. Here’s a comprehensive guide to help you cultivate your own lemon plant indoors.
Step 1: Selecting and Preparing the Lemon Seeds
Begin by choosing a ripe, organic lemon from which to harvest seeds. Organic lemons are preferable as they are less likely to have been treated with chemicals that could inhibit seed germination. Carefully cut the lemon and extract several seeds. Rinse these seeds thoroughly under lukewarm water to remove any residual pulp, which can prevent mold growth during the germination process.

To enhance germination rates, consider pre-soaking the seeds. Place the cleaned seeds in a bowl of water and let them soak for 24 hours. This step softens the seed coat, making it easier for the embryo to sprout. After soaking, remove the seeds from the water and pat them dry with a paper towel.
Step 2: Germinating the Seeds
While planting seeds directly into soil is common, pre-germinating them can increase success rates. To do this, place the soaked seeds between two moist paper towels. Put the paper towels with seeds inside a resealable plastic bag to maintain moisture. Store the bag in a warm, dark place, such as a cupboard, for about one to two weeks. Check periodically to ensure the paper towels remain moist and to monitor for sprouting.
Step 3: Planting the Germinated Seeds
Once the seeds have sprouted, it’s time to plant them. Select a cup or small pot with drainage holes to prevent water accumulation, which can lead to root rot. Fill the cup with a well-draining potting mix, ideally formulated for citrus plants. Create a small hole about half an inch deep in the center of the soil. Gently place a germinated seed into the hole with the root facing downward, then cover it lightly with soil.
Step 4: Providing Optimal Growing Conditions
Lemon plants thrive in environments with ample sunlight. Position the cup in a location that receives at least 8 hours of direct sunlight daily, such as a south-facing windowsill. If natural light is insufficient, supplement with a grow light to ensure the plant receives adequate illumination.
Maintain a consistent temperature between 65-75°F (18-24°C) around the plant. Lemon plants are sensitive to temperature fluctuations, so keep them away from drafts, heating vents, and air conditioners.
Step 5: Watering and Humidity
Water the soil thoroughly after planting, ensuring that excess water drains out. Moving forward, keep the soil consistently moist but not waterlogged. A good practice is to water when the top inch of soil feels dry to the touch. Overwatering can lead to root rot, while underwatering may cause the plant to wilt.
Lemon plants appreciate higher humidity levels. To increase humidity, especially in dry indoor environments, place a tray filled with water and pebbles beneath the cup. As the water evaporates, it will raise the humidity around the plant. Alternatively, regularly misting the plant with water can also help maintain adequate humidity levels.
Step 6: Fertilizing
After the seedling has developed its first set of true leaves, begin feeding it with a balanced, water-soluble fertilizer formulated for citrus plants. Apply the fertilizer at half the recommended strength every four to six weeks during the growing season (spring and summer). Reduce or halt fertilizing during the dormant season (fall and winter) when plant growth naturally slows.
Step 7: Pruning and Maintenance
As the lemon plant grows, periodic pruning helps maintain its shape and encourages bushier growth. Use clean, sharp scissors or pruning shears to remove any leggy or dead branches. This practice not only improves the plant’s appearance but also promotes better air circulation, reducing the risk of disease.
Regularly inspect the plant for signs of pests such as spider mites, aphids, or scale insects. If pests are detected, treat the plant promptly with insecticidal soap or neem oil, following the product’s instructions.

Step 8: Transplanting
As the lemon plant outgrows its initial cup, transplant it into a larger pot to accommodate root development. Choose a pot that is 2-3 inches larger in diameter than the current one and has adequate drainage holes. Use fresh, well-draining potting soil during the transplant to provide the plant with necessary nutrients.
Patience and Expectations
Growing a lemon plant from seed is a rewarding process, but it requires patience. Seed-grown lemon trees may take several years to mature and may not produce fruit identical to the parent lemon due to genetic variability. However, the joy of nurturing the plant and the aesthetic appeal it adds to your space make the endeavor worthwhile.


