

Bleach stains are not like regular spills of coffee, wine, or grass. Instead of depositing pigment on fabric, bleach chemically removes the dye from the fibers, leaving a color‑less spot that shows as white or lighter than the surrounding fabric. That means you can’t “lift” the stain like dirt you must either neutralize the bleach to stop ongoing damage or restore/disguise the missing color.
Because bleach has stripped the dye rather than leaving a substance behind, traditional stain removers don’t work. Instead, the goal is to halt the chemical reaction and then bring back color to the affected area.
Trick #1: Neutralize and Recolor with Vinegar + Fabric Marker
This method is ideal for small bleach spots — like a drip on a T‑shirt or jeans — and works best on dark or solid‑colored fabrics.
Step 1: Stop the Bleach from Spreading
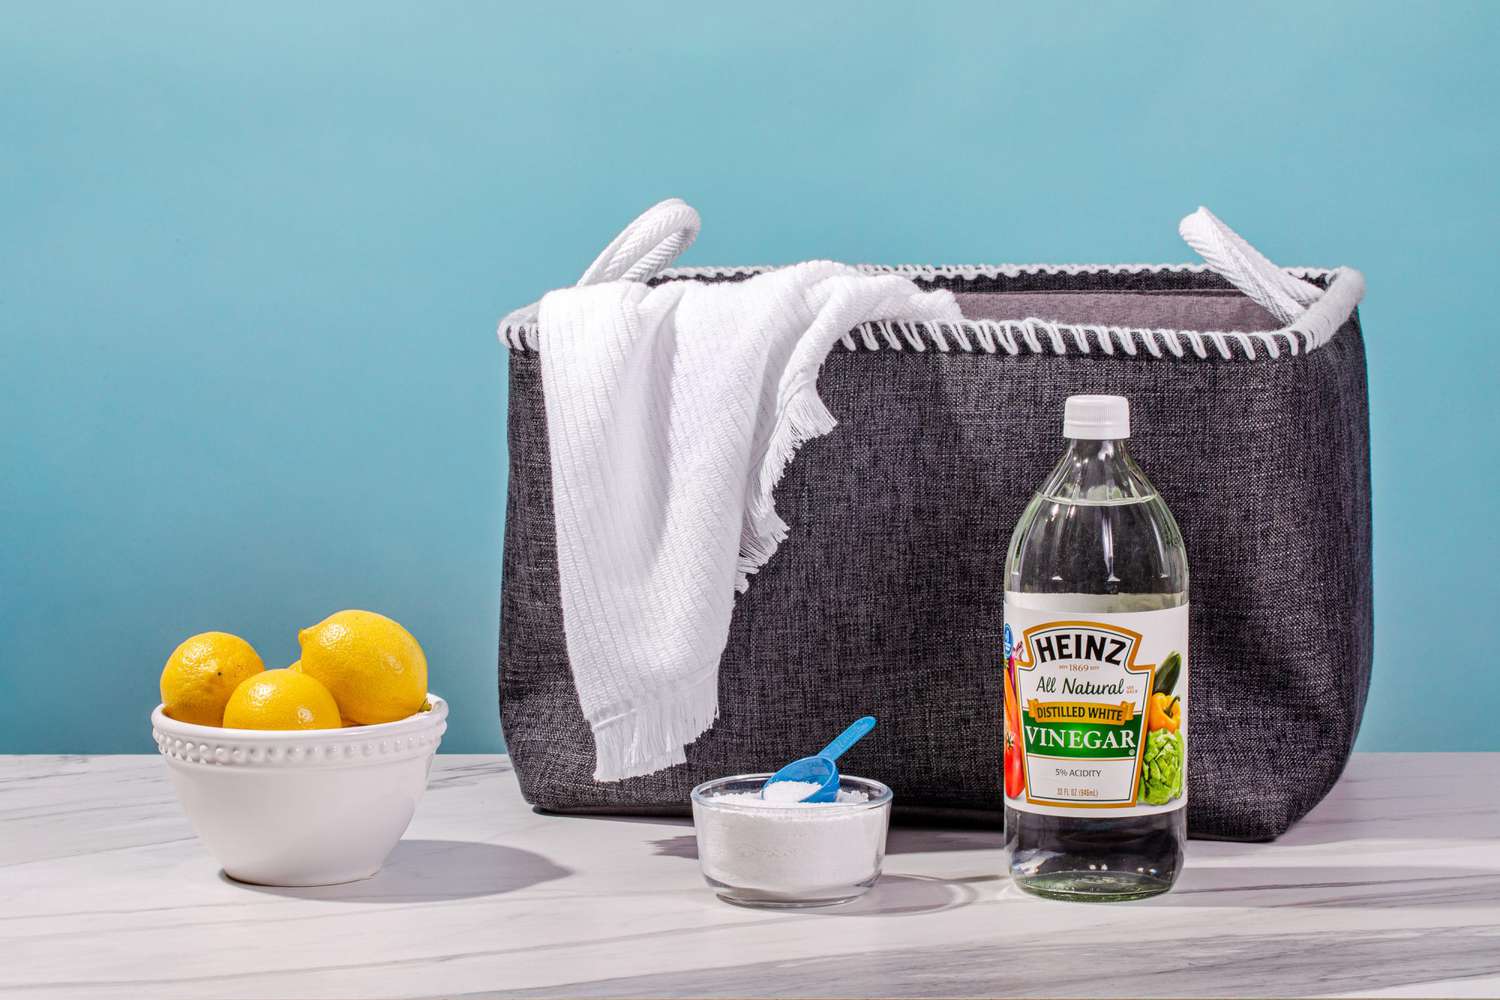
As soon as you notice the bleach spot, rinse it under cold water to remove excess bleach from the fabric. Then apply white vinegar with a clean cloth to the area. The vinegar helps neutralize any remaining bleach and stops further fiber damage.
Step 2: Let the Fabric Dry
Before you recolor the area, make sure the fabric is completely dry. Wet spots can interfere with color absorption and make it harder to match the original tone.
Step 3: Recolor the Spot
Use a fabric marker or permanent dye pen that closely matches your garment’s color. Lightly fill in the bleach patch with small, controlled strokes, layering gradually until the spot visually blends with the surrounding fabric. Fabric markers are designed to withstand washing better than regular markers, so your repair will last longer through normal laundry cycles.
Trick #2: Dye Over the Stain for Larger Spots
When the bleach damage is too big for a marker or the color mismatch is obvious, using a fabric dye solution or creative covering technique can be more effective.
Step 1: Choose a Matching Dye
Select a fabric dye that closely resembles the garment’s color. For spot fixes, mix a small amount with water according to the manufacturer’s directions. Natural alternatives such as concentrated food coloring can sometimes help with tiny spots.
Step 2: Apply Carefully
Use a cotton swab or small paintbrush to dab the dye directly onto the bleach stain. Work from the edges toward the center to minimize visible lines. Allow the color to absorb fully into the fibers.
Step 3: Set the Dye
Once dry, heat‑set the treated area by ironing on low with a protective cloth between the iron and fabric. This helps the dye bond securely. Finally, rinse gently to remove excess color and wash as usual.
Tips for Better Results
- Always test fabric markers and dyes on a hidden seam before applying to the stain. This ensures a good color match.
- For patterned fabrics, blending the color into the nearest design can make bleach marks nearly invisible.
- If the bleach stain is very large or the garment is valuable, consider dyeing the entire item a darker shade for a uniform look.
Final Thoughts
Bleach stains don’t deposit anything on your clothes — they remove the color — so traditional stain‑removal methods won’t fix them. But with a simple two‑step approach — neutralizing the bleach and then restoring or disguising the color — you can often save clothes you thought were ruined. Whether you use a fabric marker for quick fixes or spot dye for larger marks, these tricks help you extend the life of your wardrobe without costly replacements.


